While it’s not the pretty stuff, tent installation is quite a process. It always involves a minimum of 36 hours installation time, but we’ve created structures that have taken up to a week once we’ve installed flooring, the tent, lighting, etc. Last weekend’s tent was a relatively short installation as we didn’t have flooring, except for that gorgeous deco dance floor and our walls were creating by placing hedging around the perimeter rather than draping or building walls. That said, if you’re a production nerd, it’s still fun to see the before and after as well as a few images from the installation along the way.
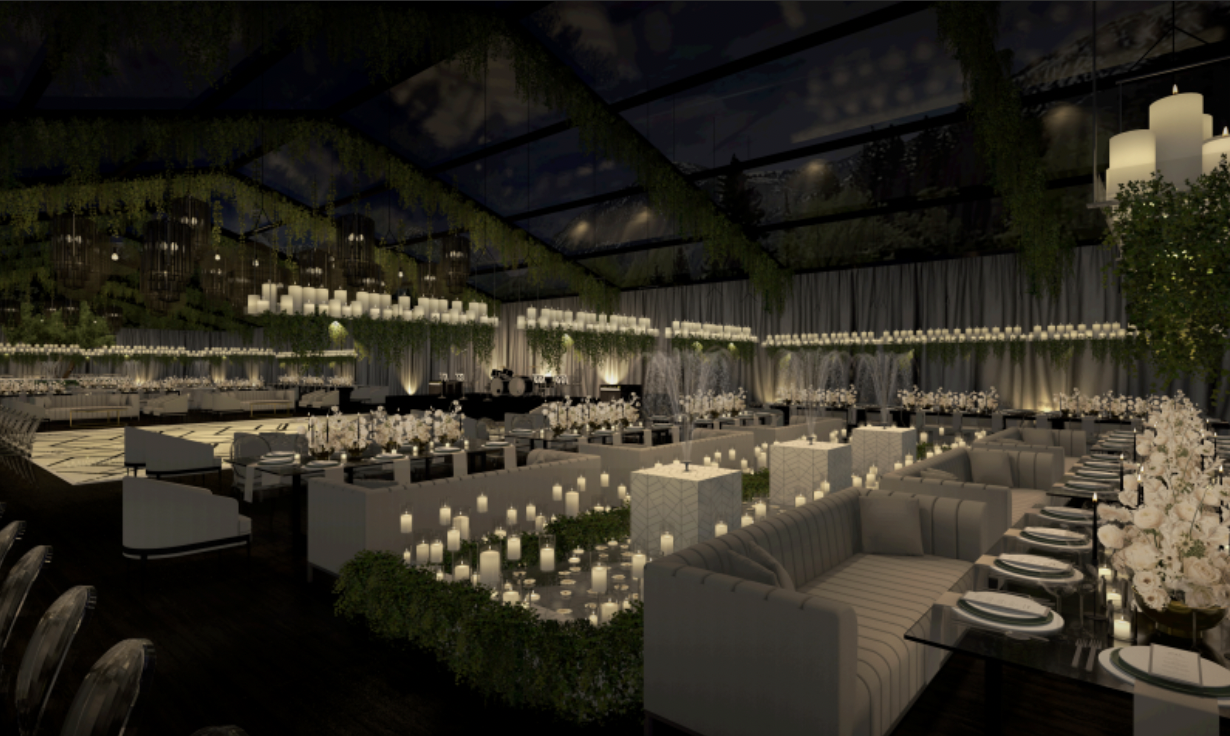
As a refresher, we were working from this rendering. If you want to read more about how we got to this point, take a peek at yesterday’s post on the rendering process we go through with our clients.
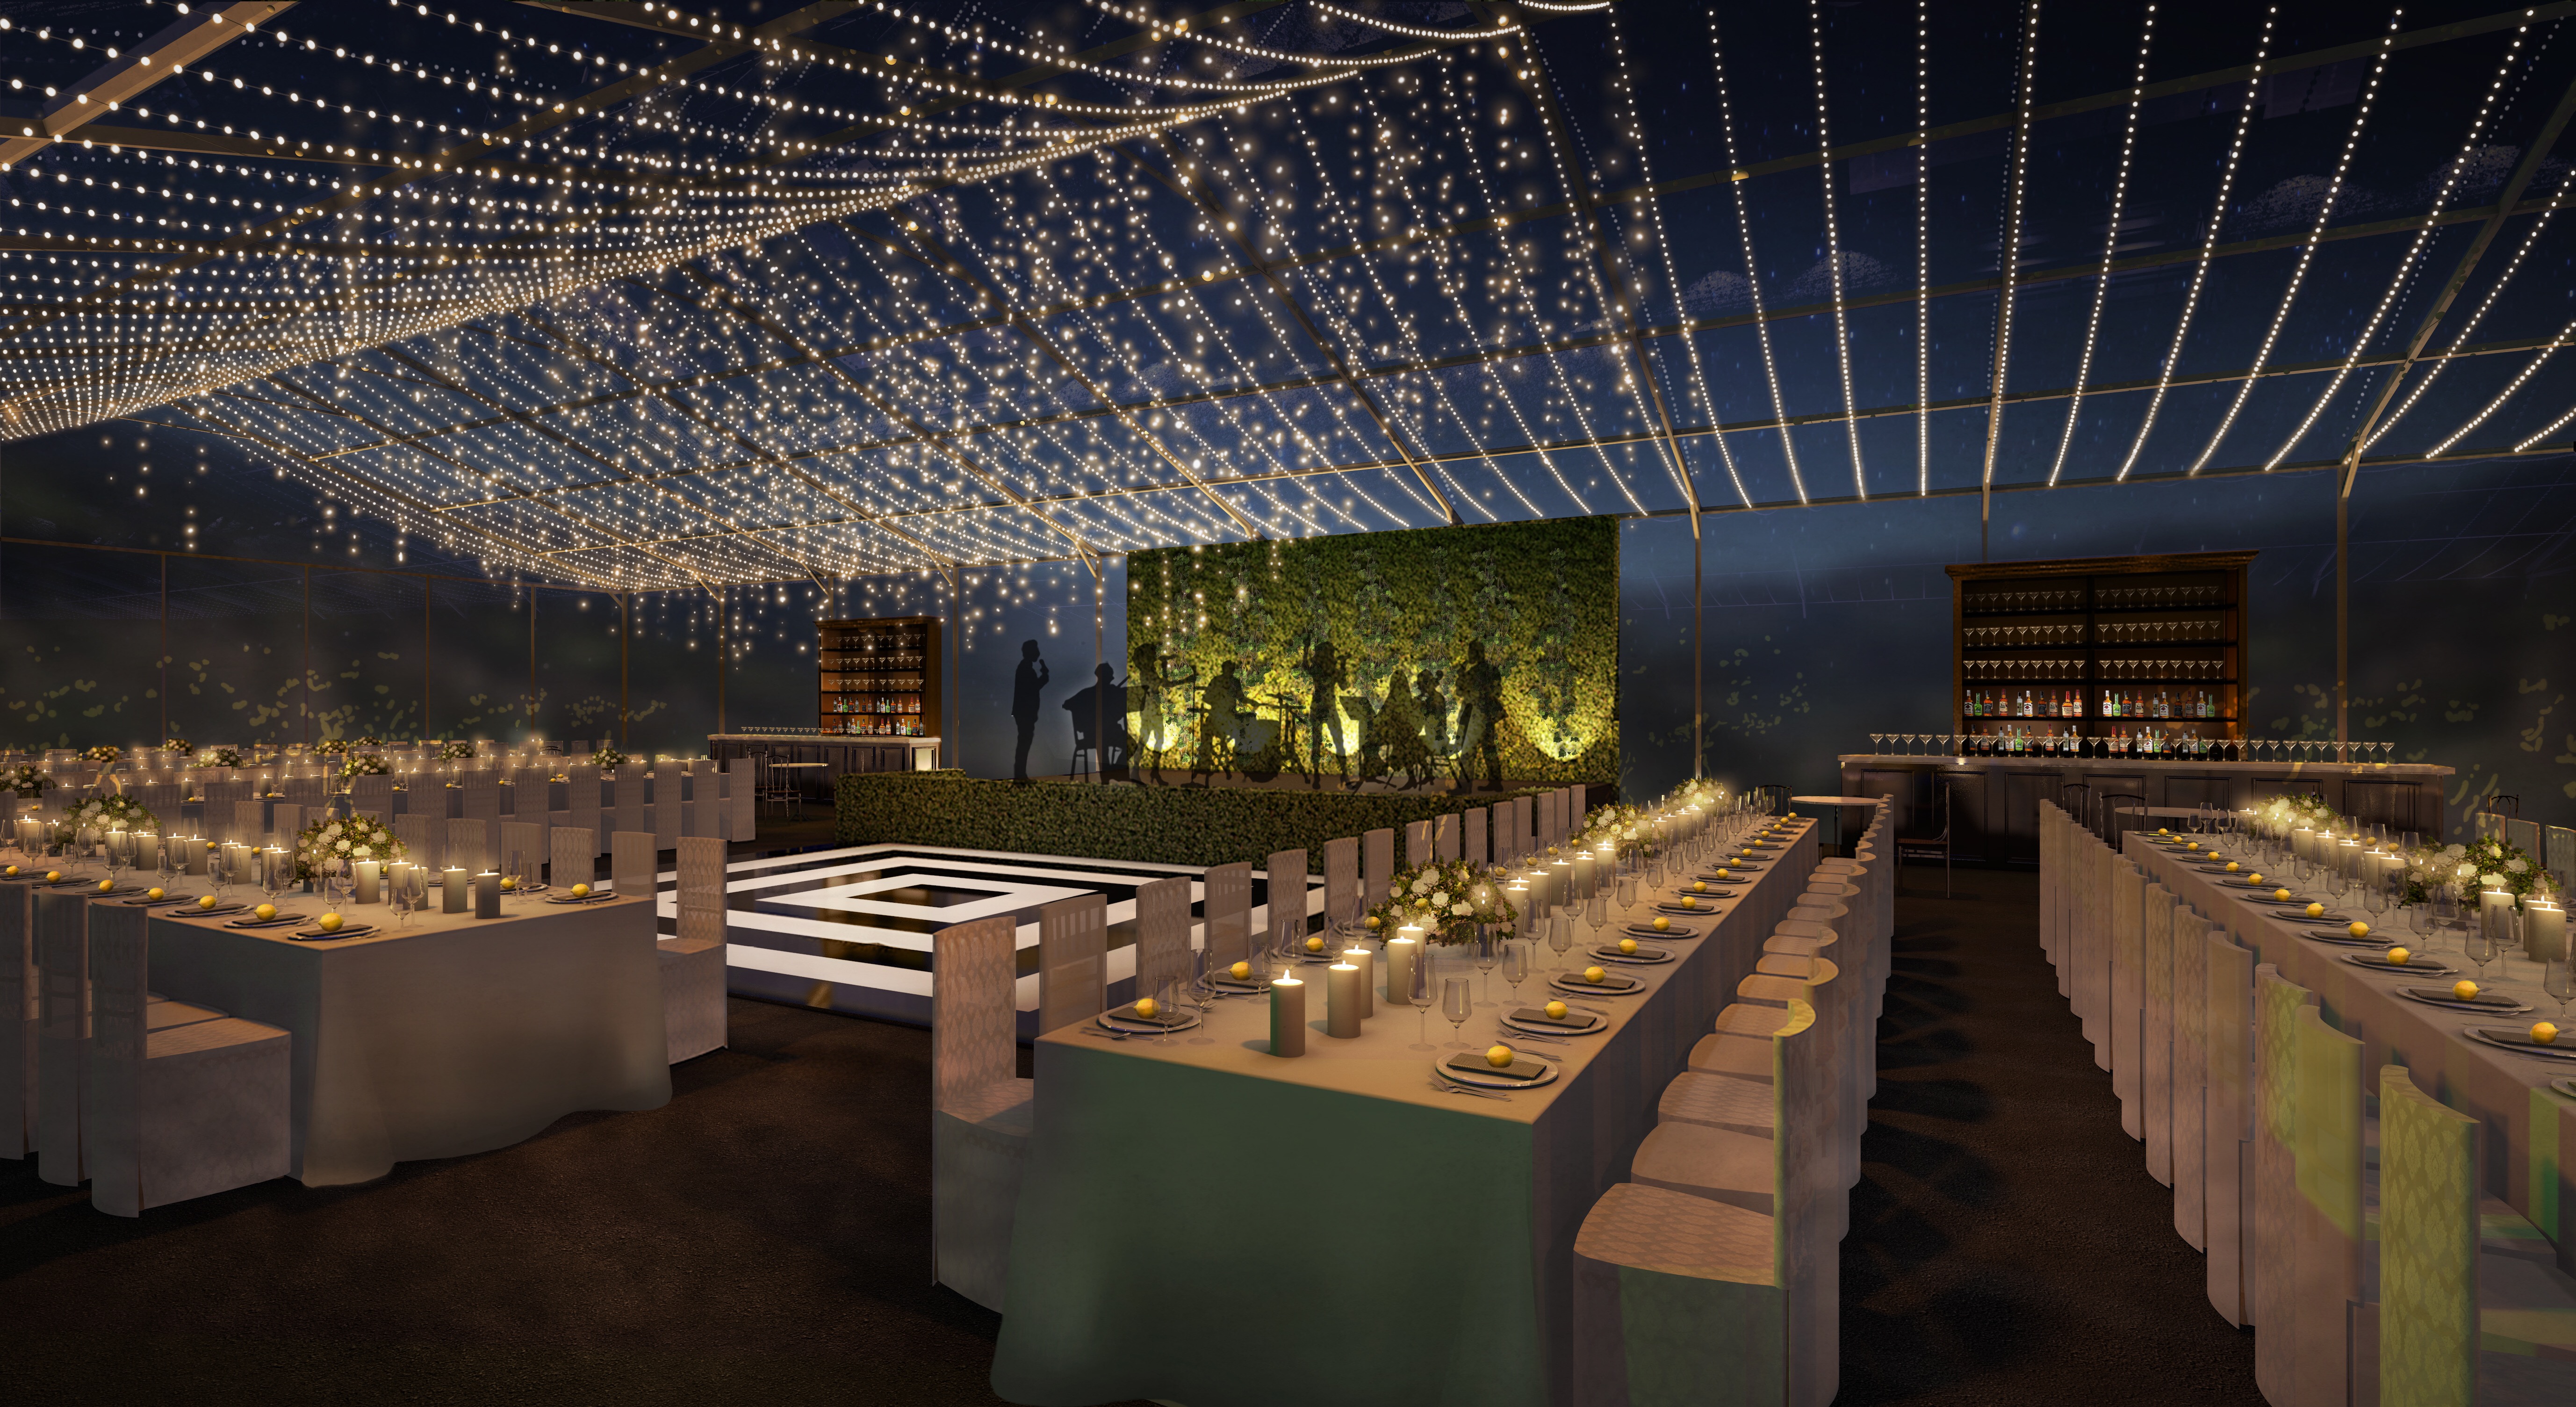
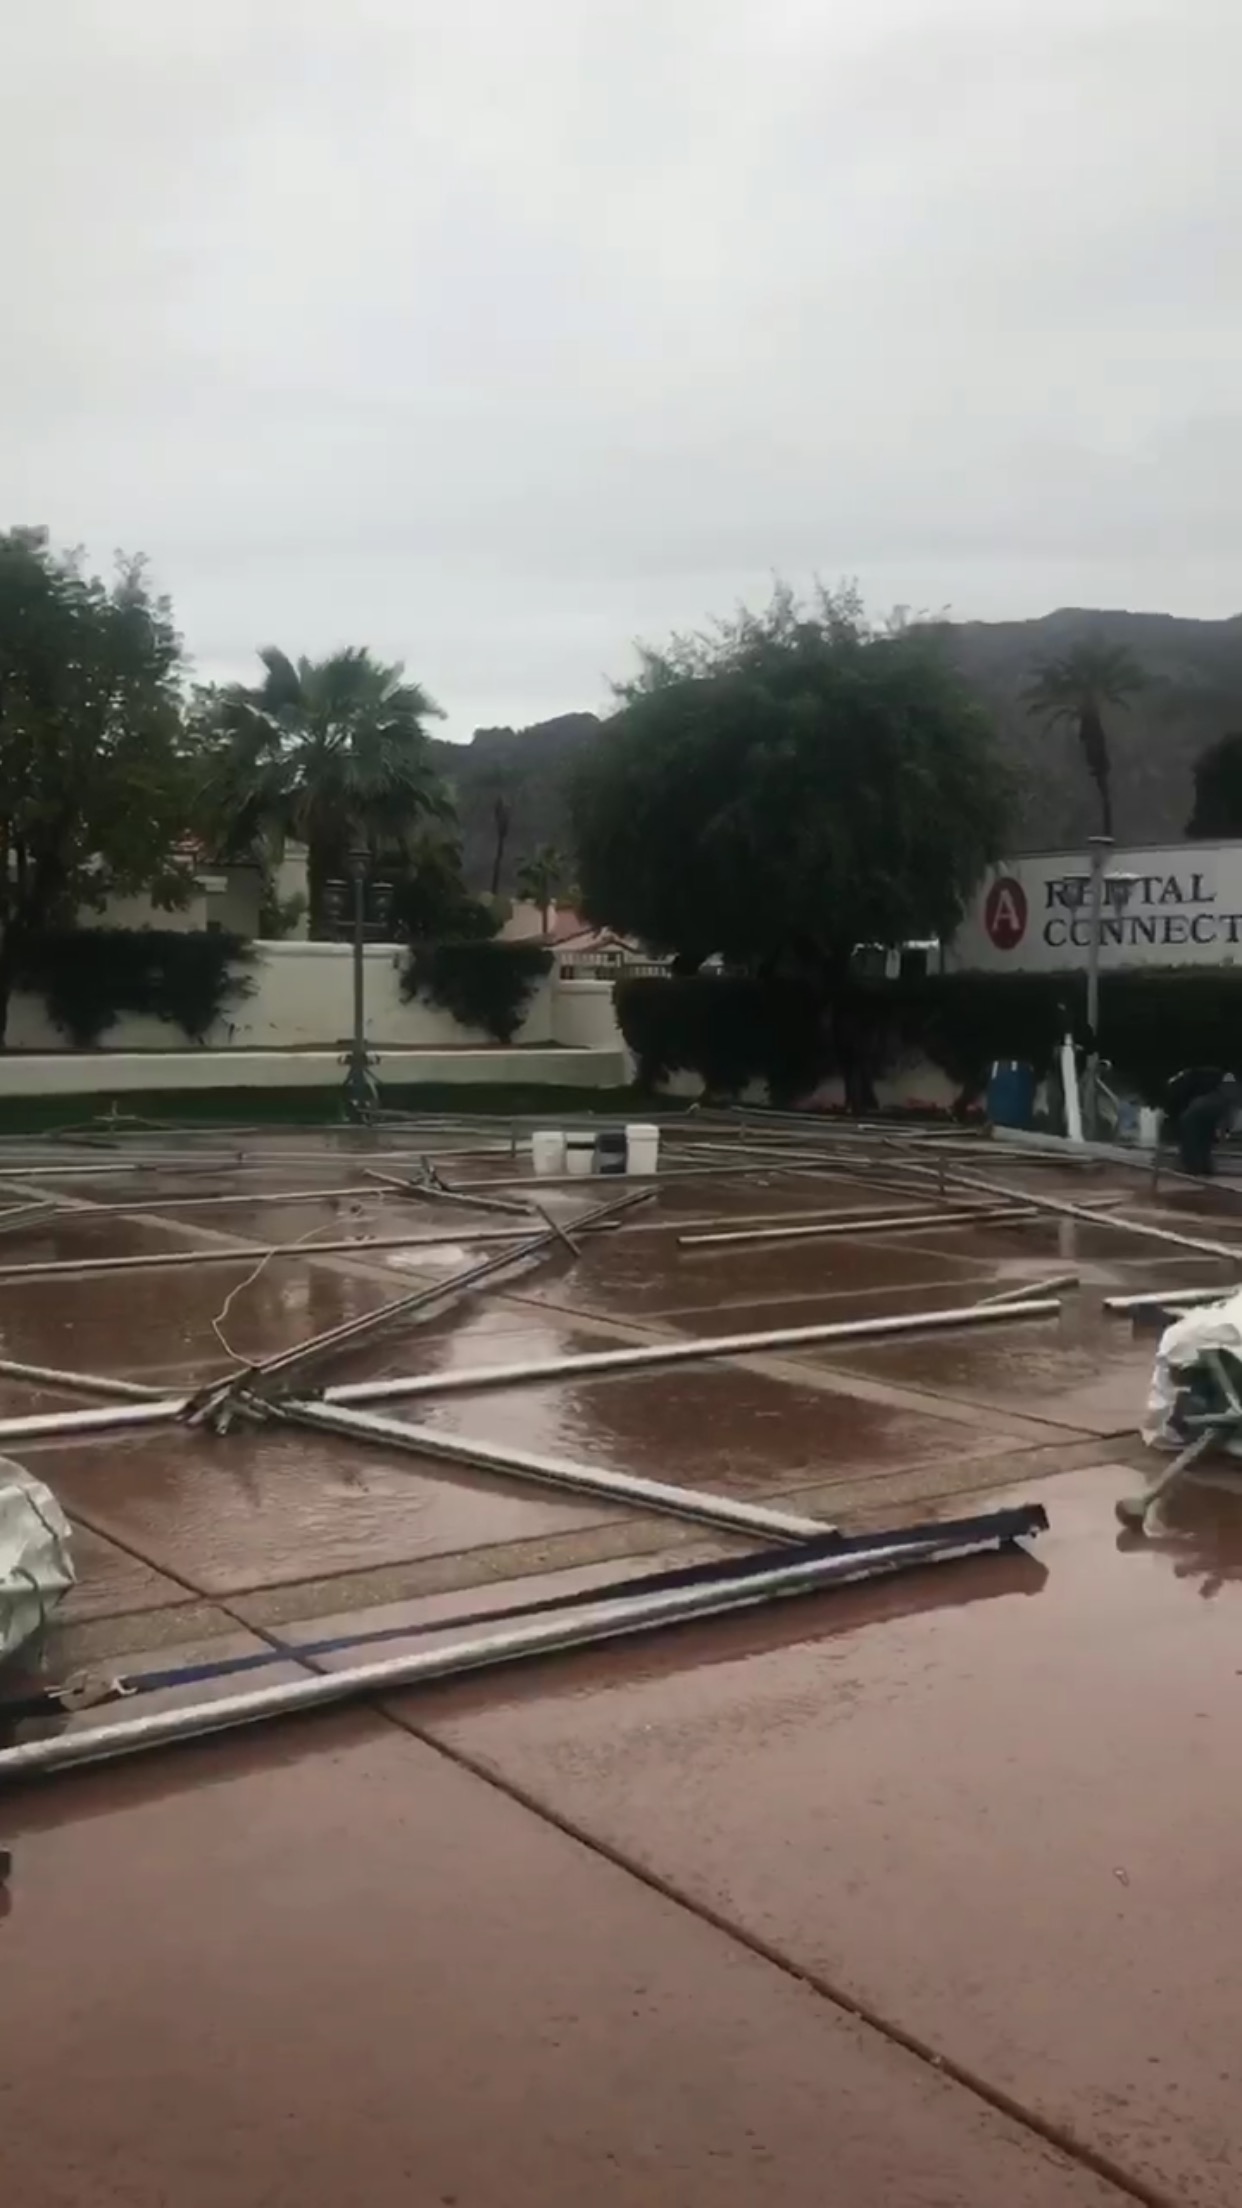
But it takes a bit of work to get to the above. Especially in the rain. Here’s a before image for you prior to my crew coming in and doing what it takes, rain or shine. Oh the things we can do with a blank parking lot, or field, or what have you. Blank spaces are the stuff of dreams for event designers.

From there, about a million trucks pull up with a crew of a gazillion people to begin laying the framework of the tent.
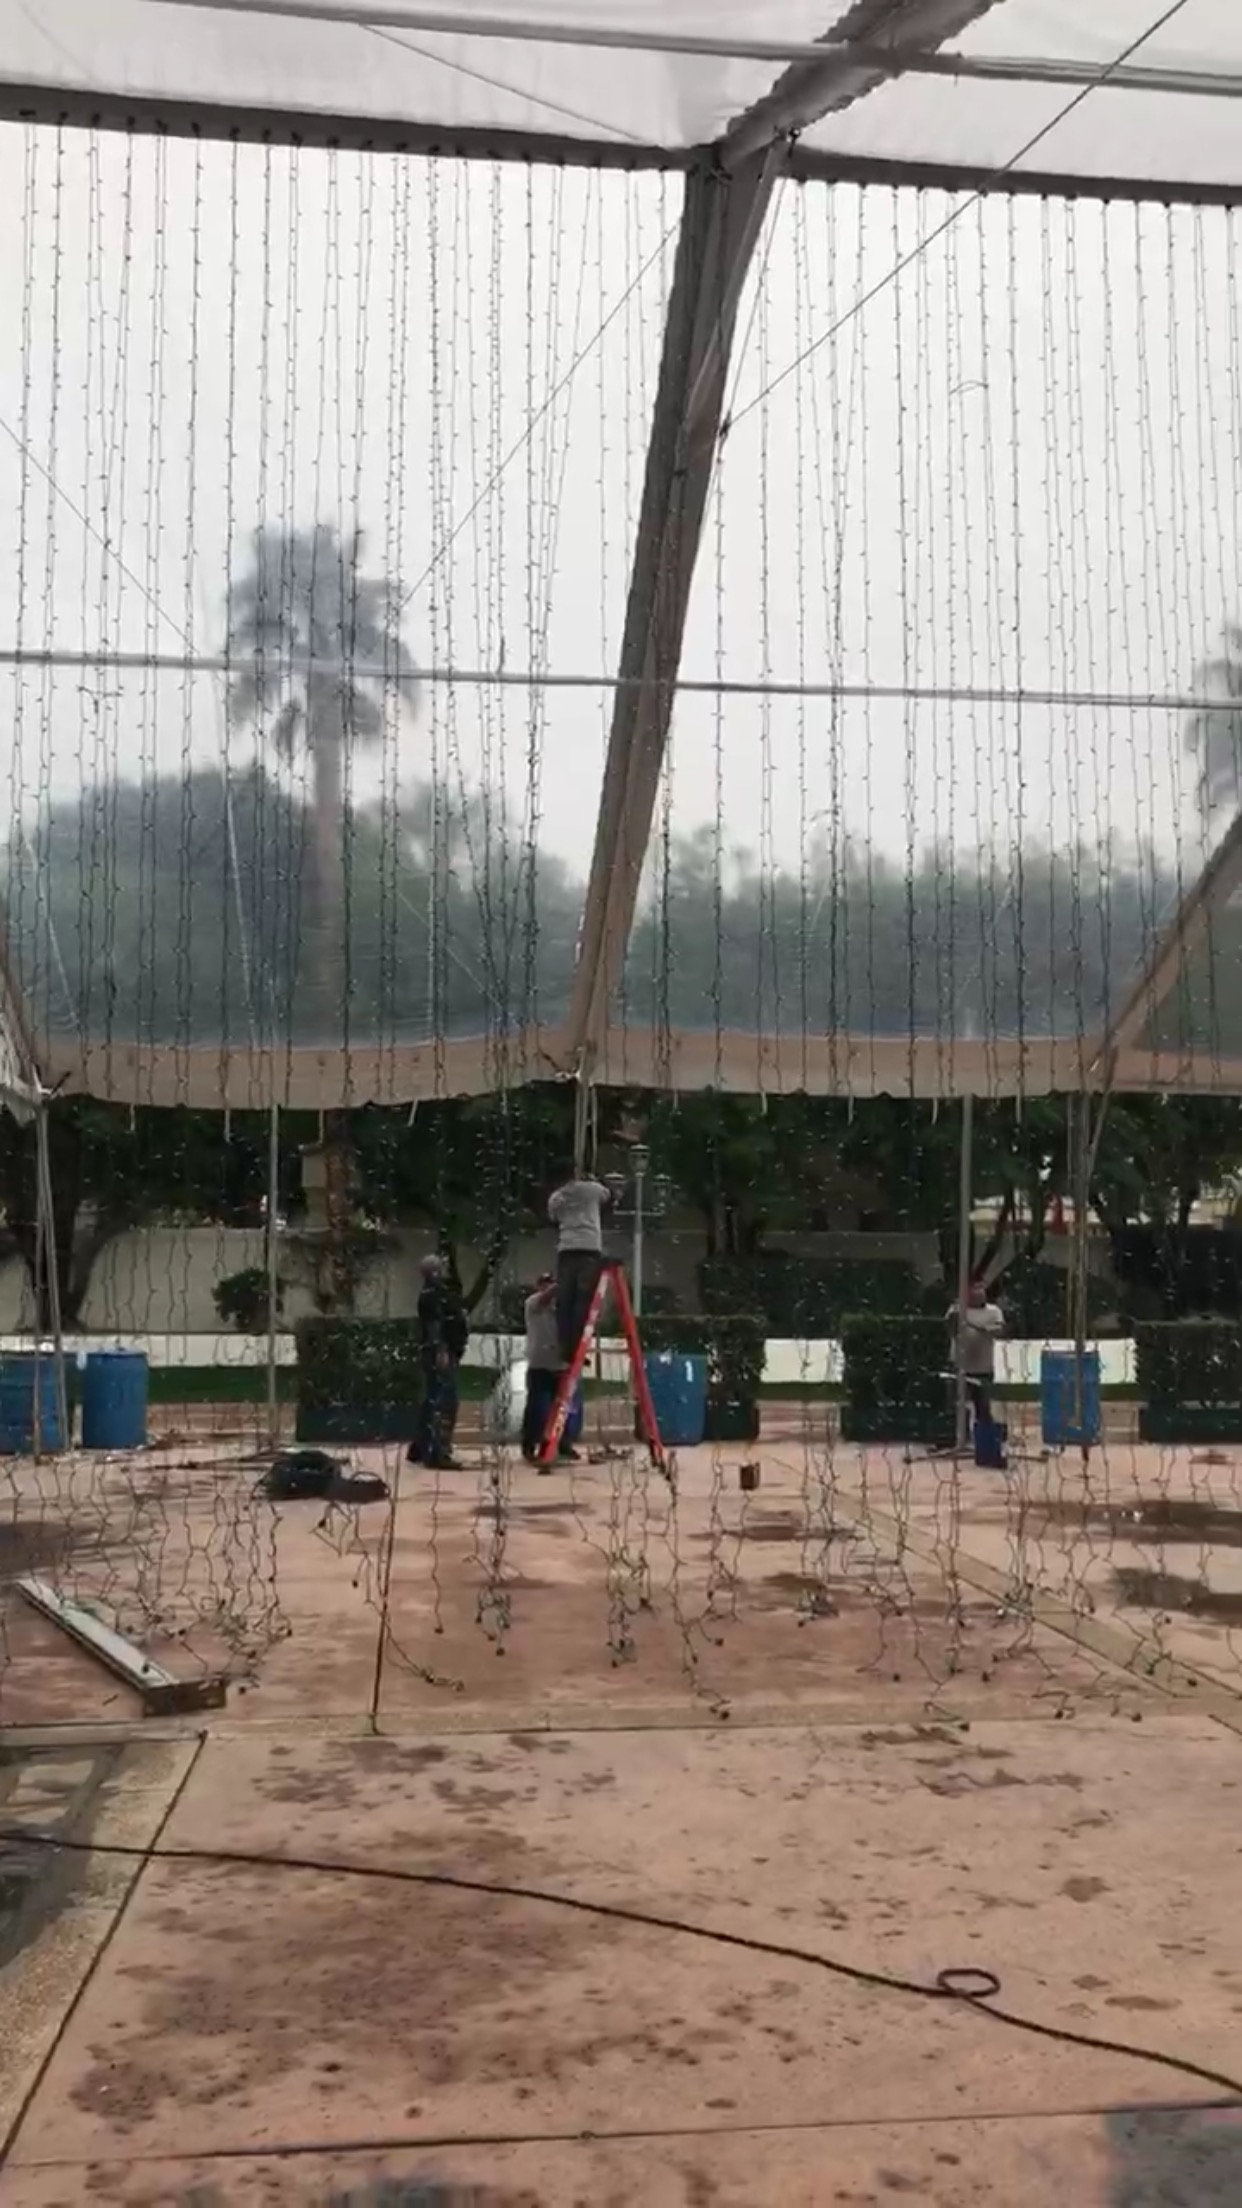
Once the tent is in place, the top goes on, but not up. We keep the top of the tent low to the ground to allow the lighting crew the time they need to install the base lighting.
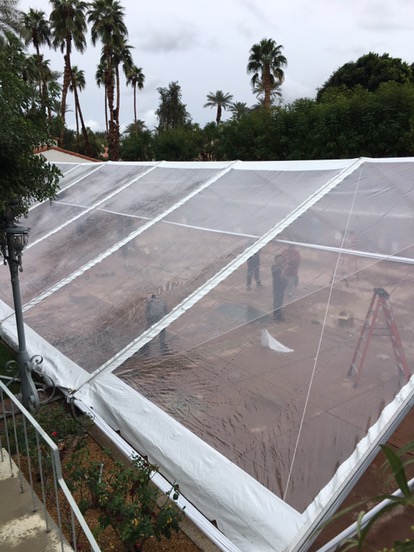
Once they have their framework in place, up the tent goes. Then the forklifts and cherry pickers come into play. Also more crew.
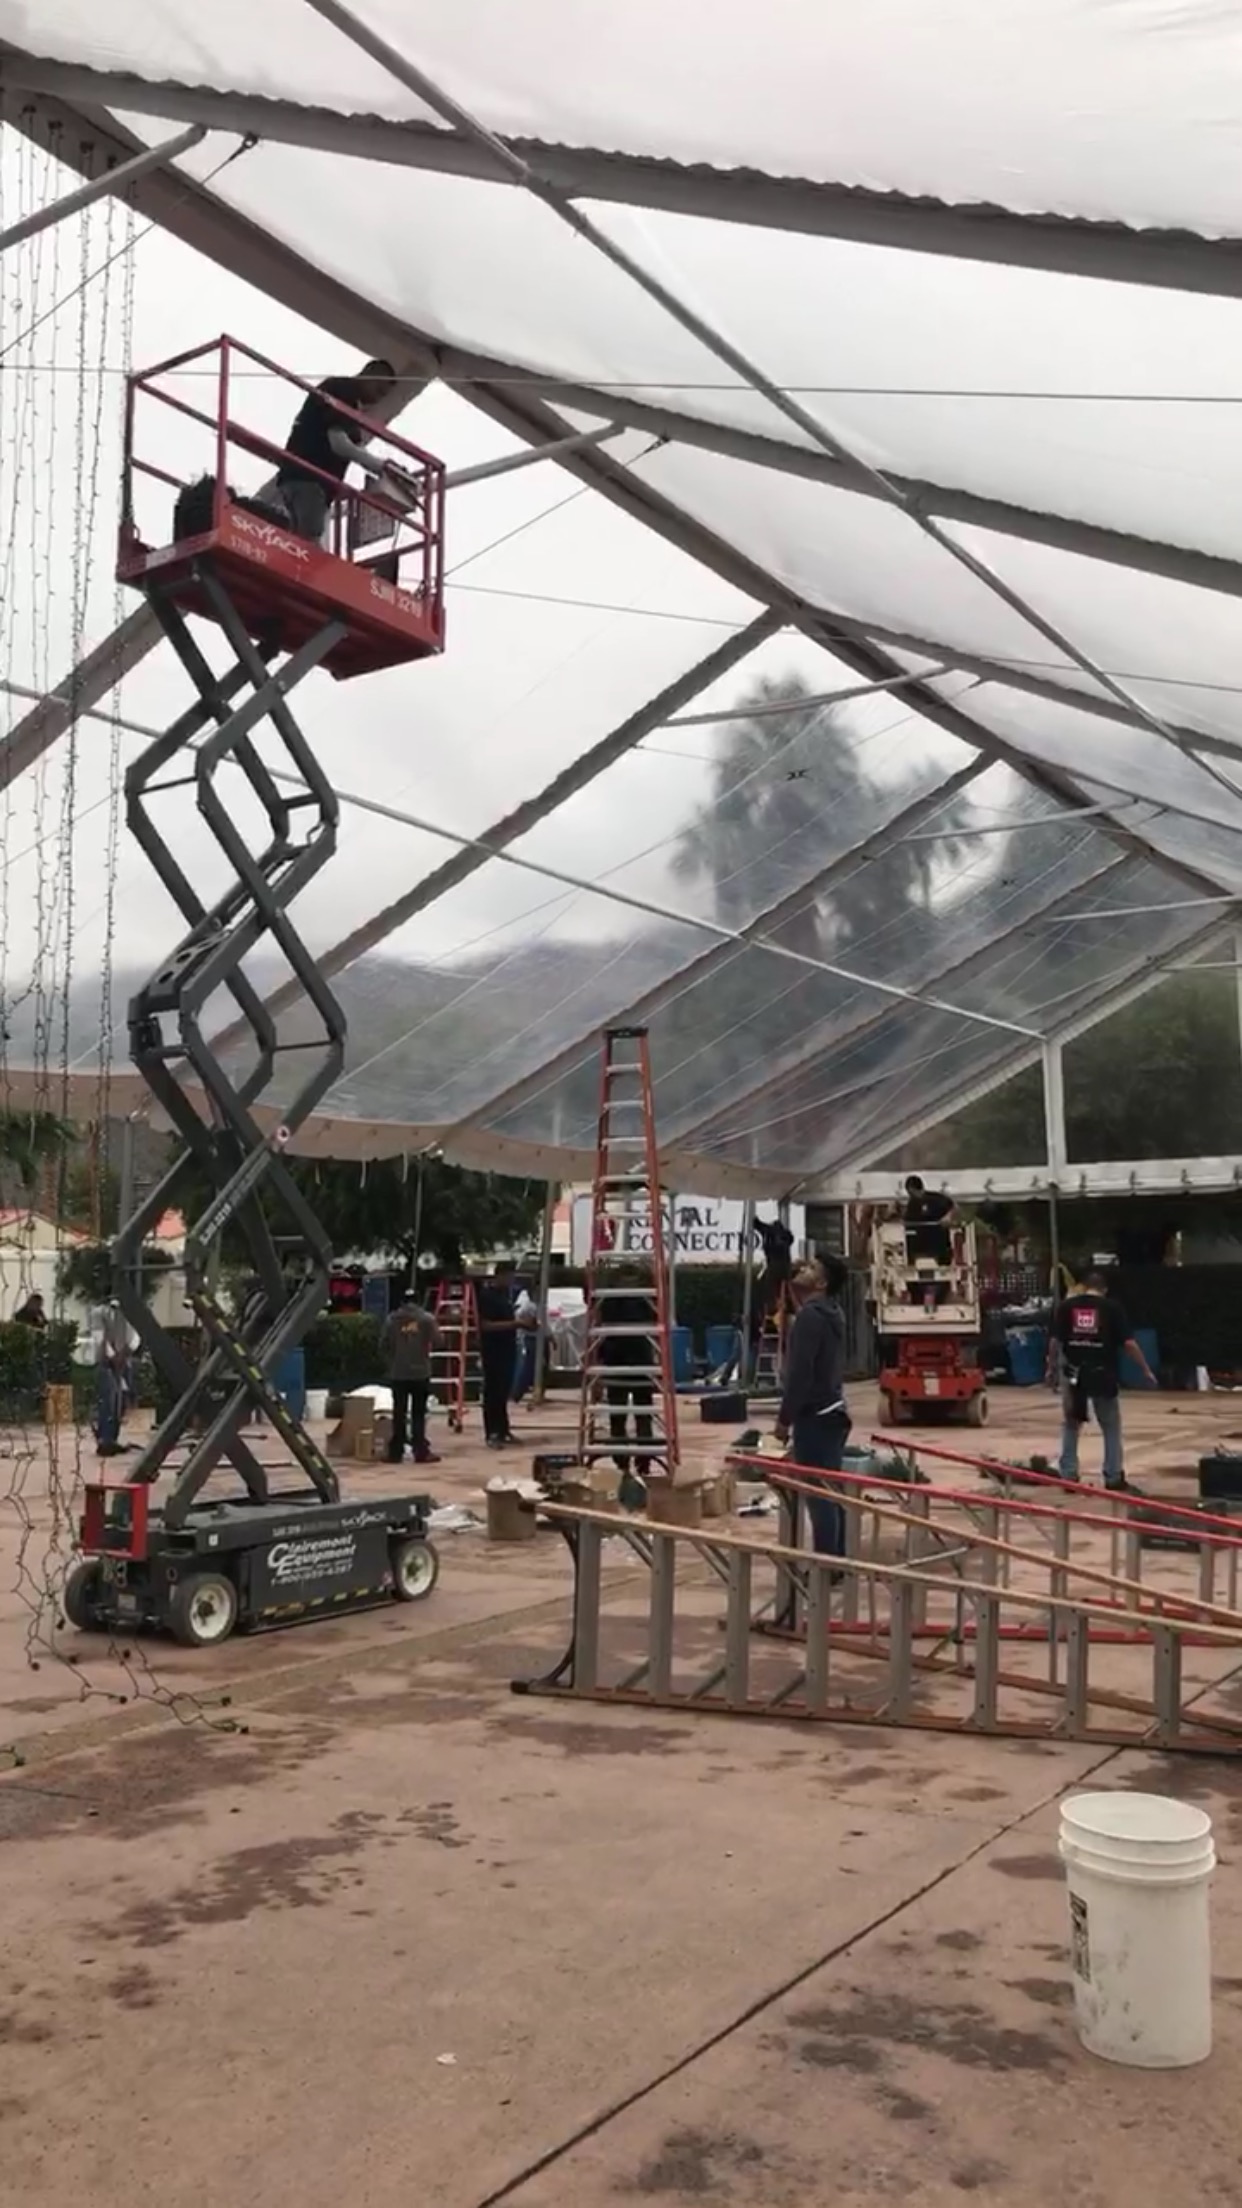
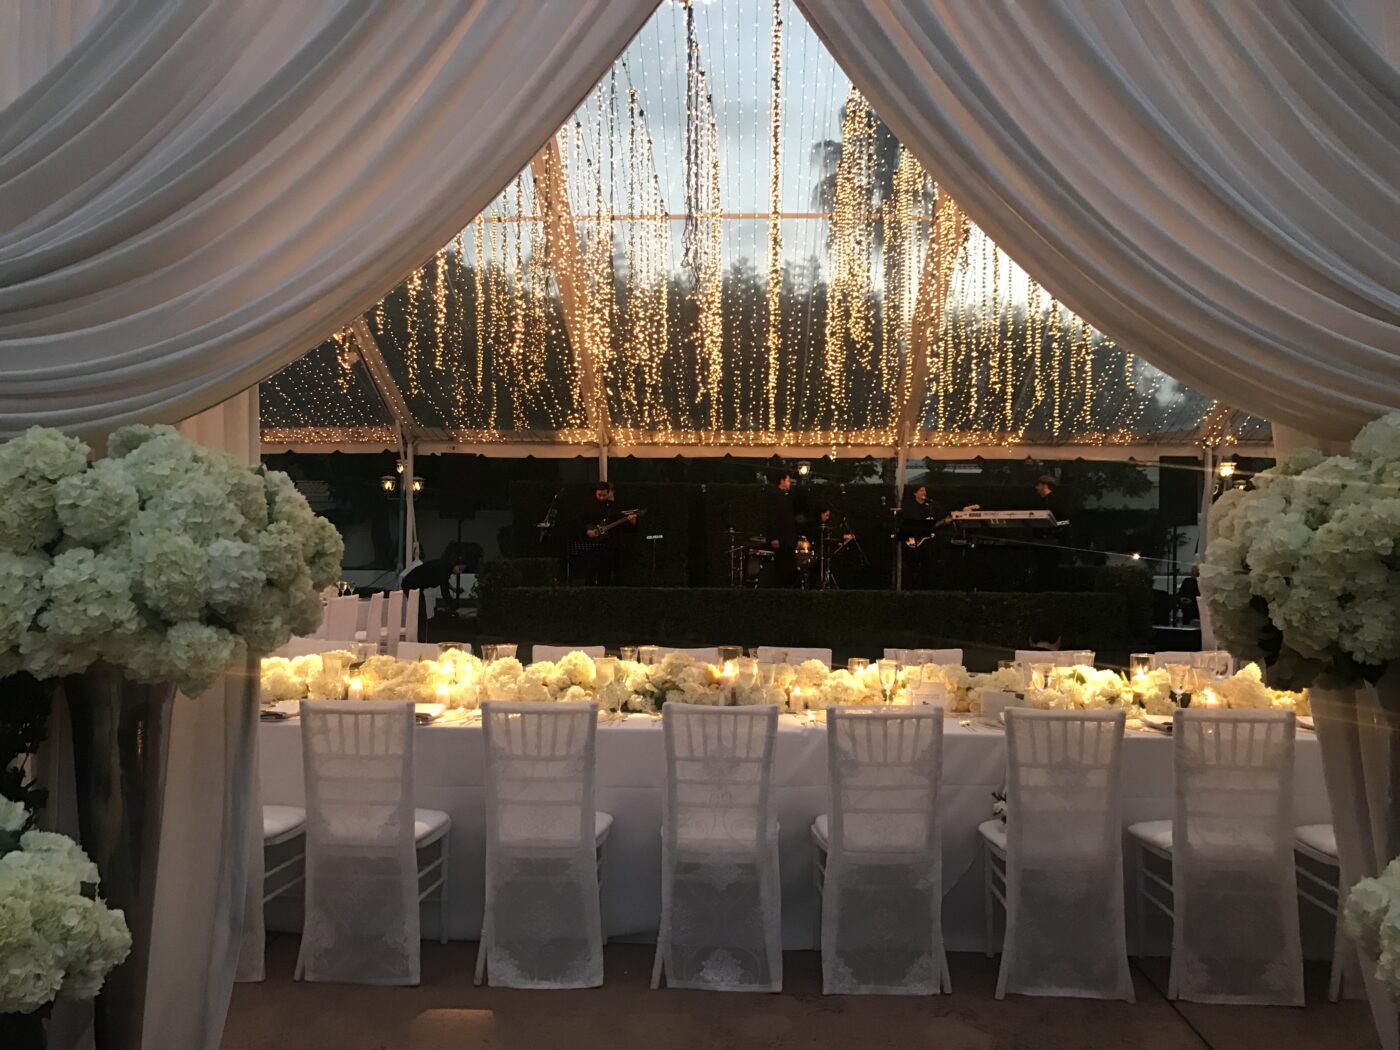
To create the canopy, all the twinkle lights start vertically and then the guys tolerate me as I monitor just how much swag is too much or too little in each strand of twinkle lights. They usually hate me right around this moment and to be honest, I kind of dislike myself as well.
After this comes the lighting check. I don’t have pictures of this, unfortunately, but essentially we wait until night to check out how the lights are looking. It’s at this point that we adjust placement, dim to the appropriate dinner time level, test the power of the generators and ultimately prepare and adjust for any anticipated issues we may have the next day.
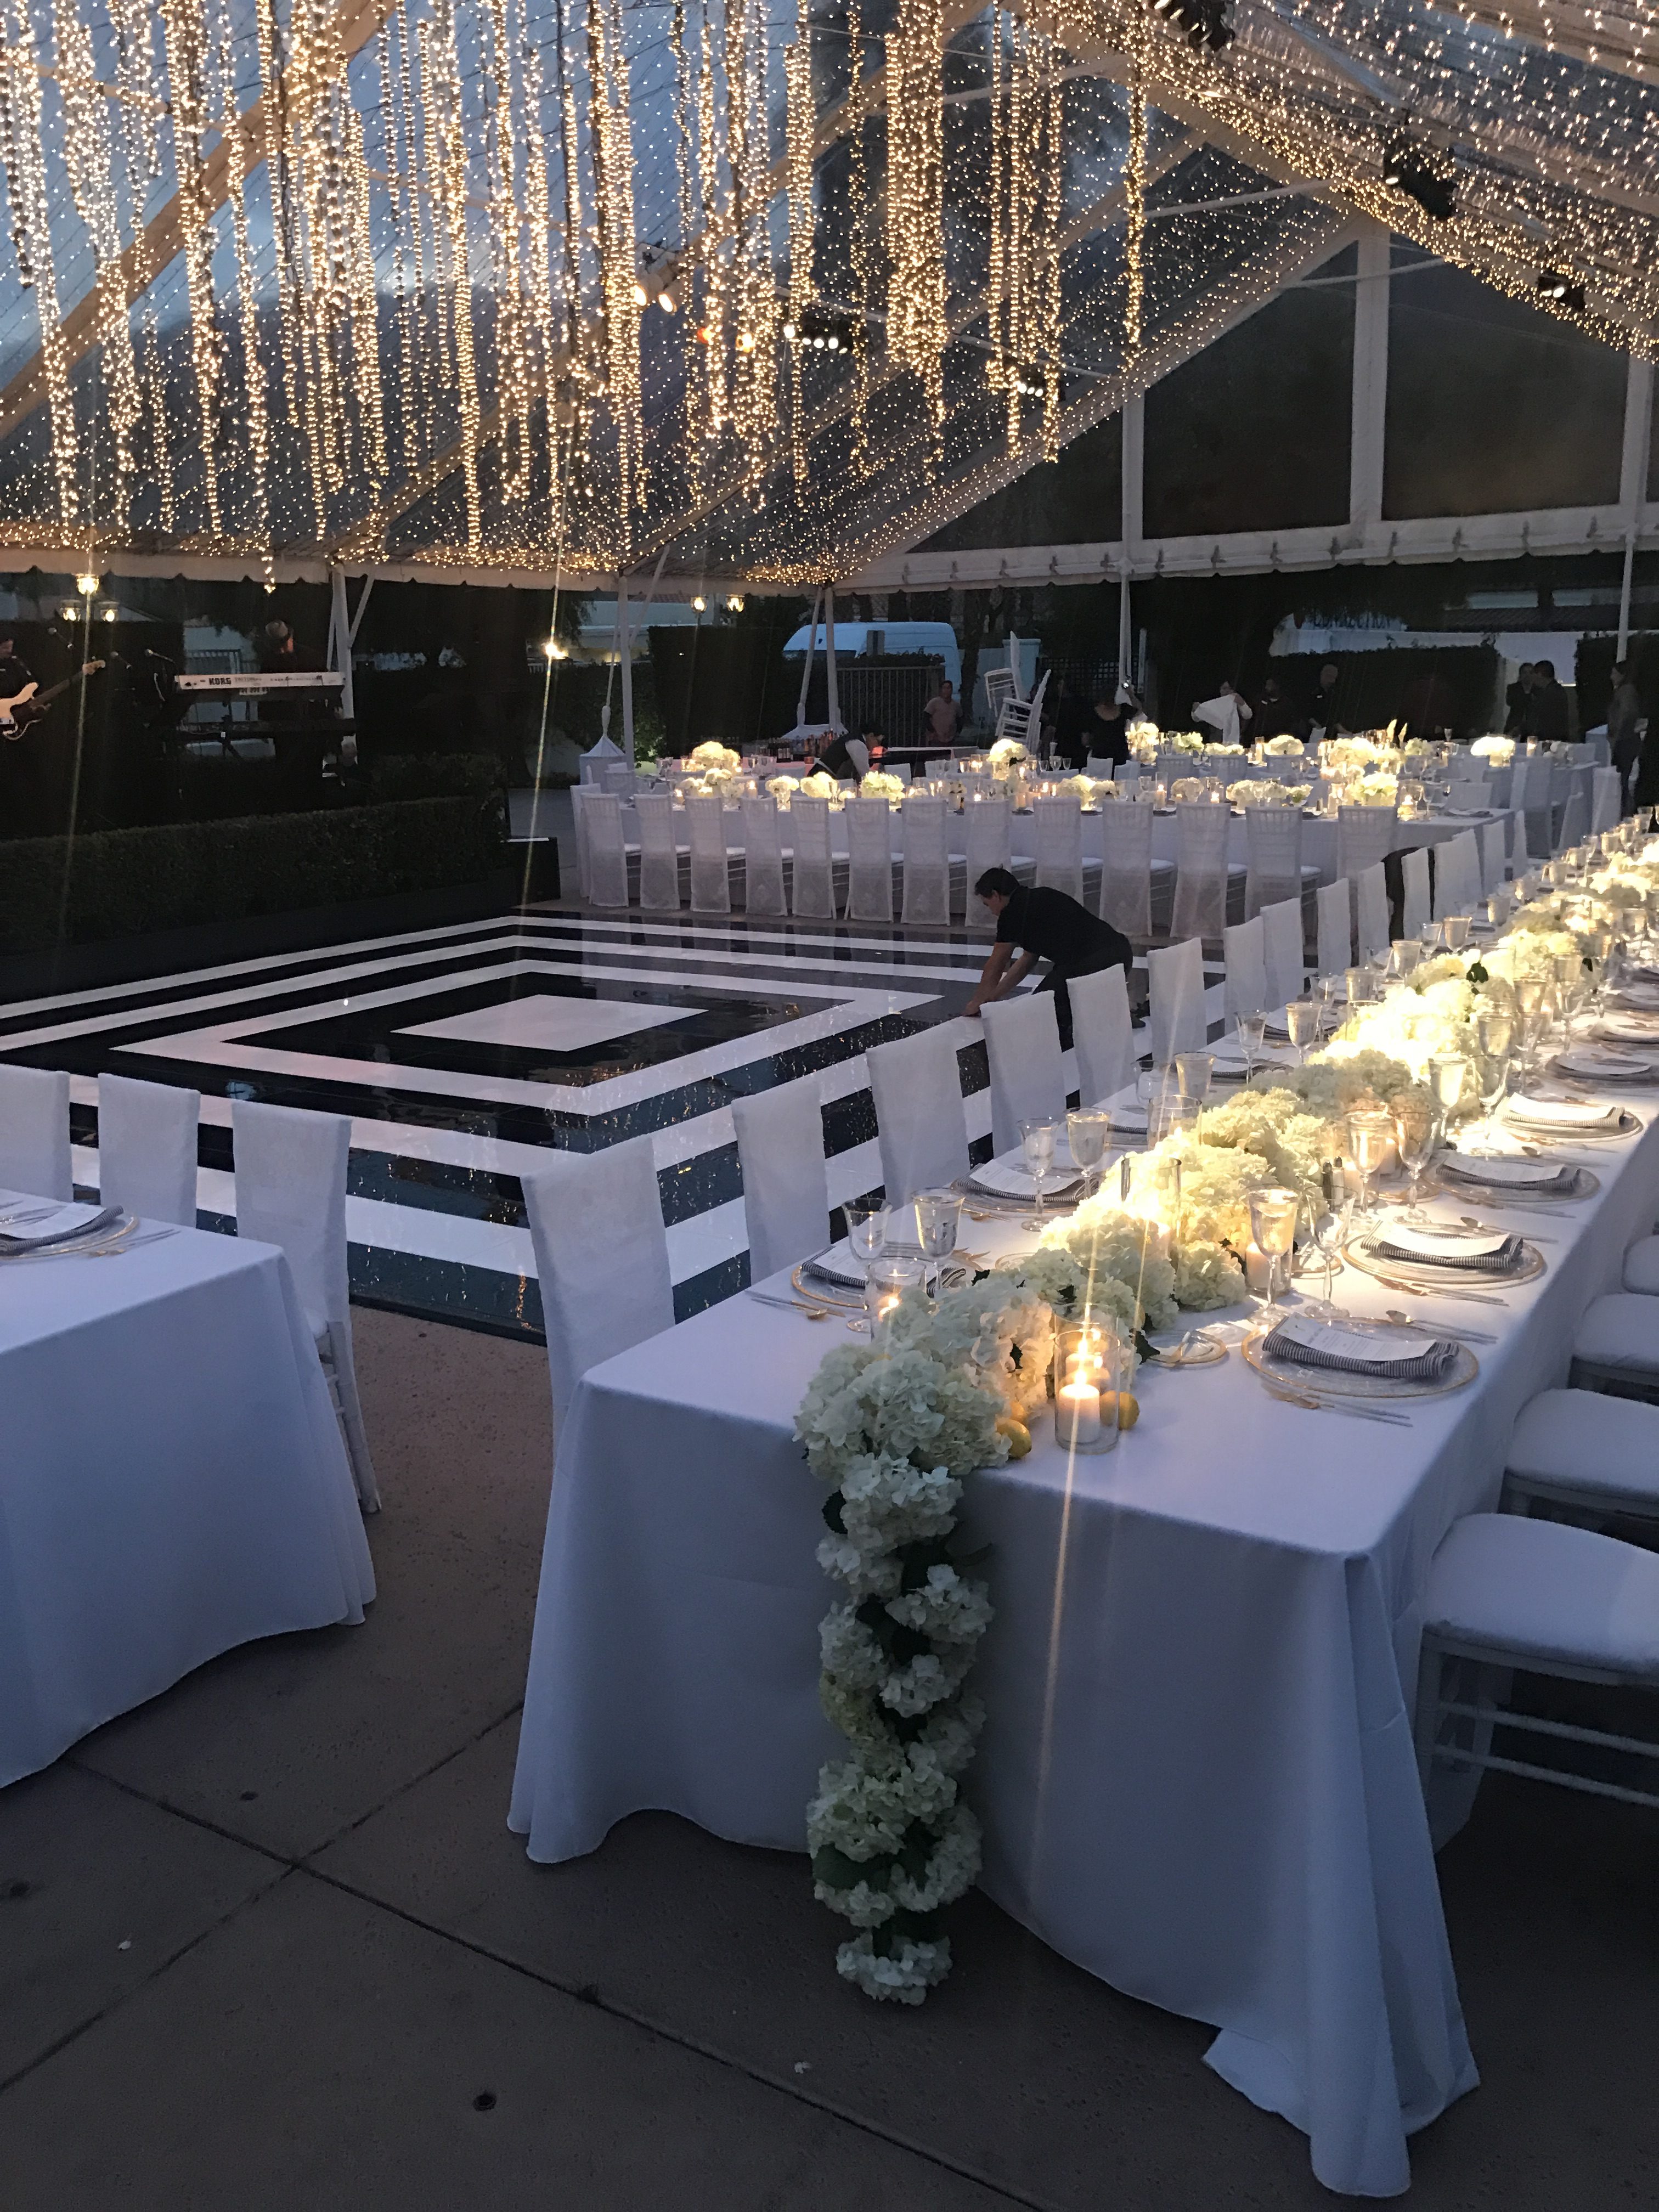
From there the inside gets set based on one of these handy dandy diagrams which our senior event producer, Madeline, creates to scale and perfection. This includes bringing in tables, linens, chairs, florals, candles, you name it. And then I go around with my critical eye to perfect things such as ensuring chairs are pulled out the exact same spot across the room, menus are placed straight on each place setting and more.

Once tables are dropped, we start adding the finishing touches such as the hedged walls, the band backdrop, the entry pathway and of course, the dance floor.

We’ll share the professional photos soon but in the meantime, I hope you enjoyed getting a behind the scenes view courtesy of my iPhone.